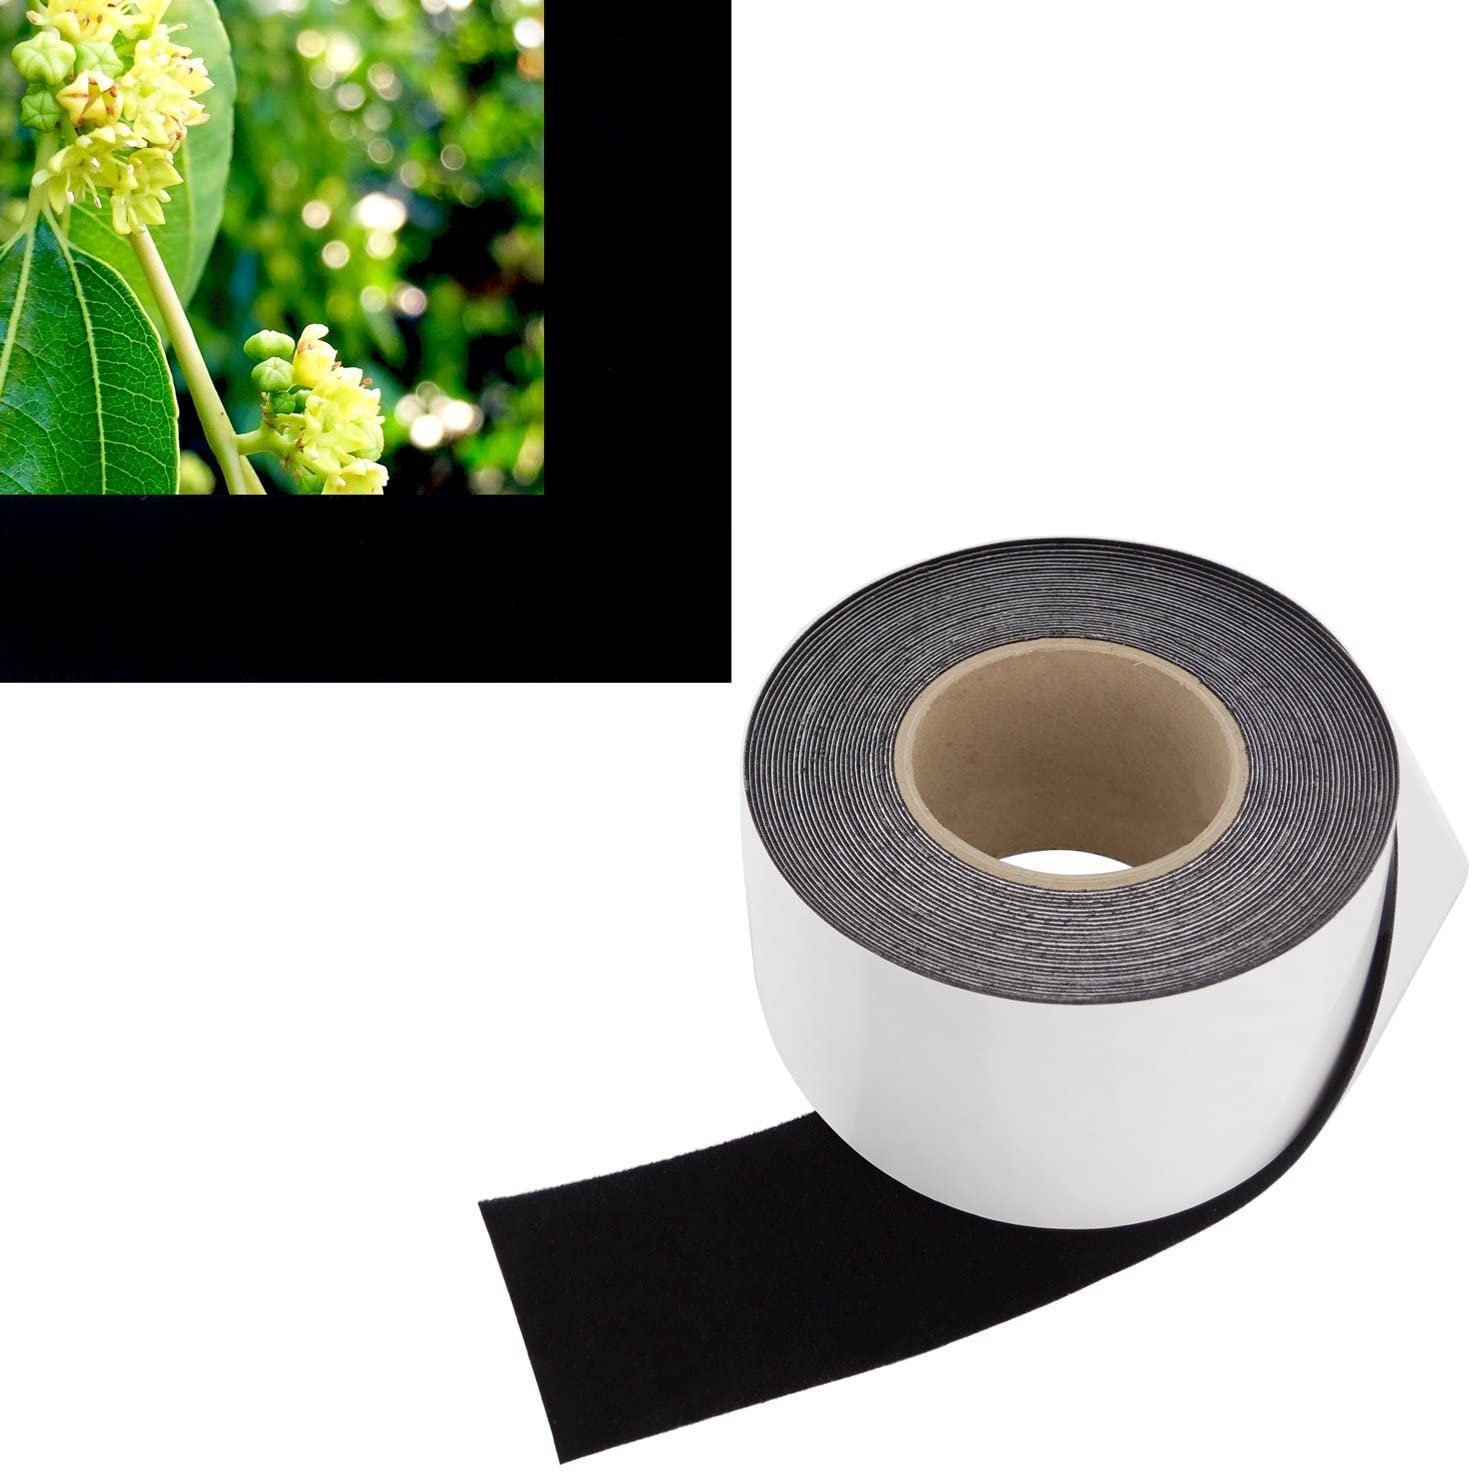
Vibrancy Enhancing Projector Felt Tape Border 3 in X 60 Ft
4.5 (568) · $ 25.00 · In stock
This Projectors item by PureSimpleThings has 2 favorites from shoppers. Ships from Los Angeles, CA. Listed on Dec 31, 2023
Elevate Every Image to Million Dollar Home Theatre Status with ConClarity Deepest Black Projector Screen Tape
Trick Your Eyes, Enhance Your Color
ConClarity tape leverages the power of visual perception – creating an aesthetically pleasing border that tricks your eyes into seeing every color, detail and image as well-saturated, high-contrast and bright – especially ideal if you struggle with an overabundance of ambient light!
The Blackest Material Means The Highest Ultra Bright Contrast
Because we use the blackest material on the market, not cheap highly reflective felt, you can expect to experience high contrast quality that outshines any home or professional movie theater – a true delight for your eyes. (See photos for detail comparison)
A Must For DIY Projector Screen Projects
Painted screen? Custom fabric? Or the newest projector screen fad? Whether you have a screen painted on your wall or you’re making a custom DIY screen out of fabric, our tape creates the high contrast border you crave – enhancing, clarifying, and dramatically brightening every color and detail in every frame.
Superior Quality Materials – Nothing Else Compares
Not only did we select the blackest velour material we could find, we made sure the quality of our velour is such that it will last you the lifetime of your screen. Our projector tape adhesive will not lose its tack even in extremely hot, humid environments.
Kindergarten Easy Installation – Measure, Cut & Press
Installing your ConClarity Projector Screen Tape is easy. In fact, you might not see it as installation at all!
Step 1: Project an image onto your wall or fabric.
Step 2: Measure the length and width of your projected screen.
Step 3: Cut the projector tape to size per your measurements (any scissors or box cutter will do).
Step 4: Peel and stick the projector tape (inch by inch works best) using the projected image as your guide. Enjoy!
And if there’s ever a question, you can reach us here at any time – so rest assured we’ll help your DIY project go off without a hitch.

Pin on Vectors Character Art

American History-Part II, Teachers' Guide, PDF, Empire Of Japan
For Projector
Diy Projector
Diy Projector - Finland

Diy Projector
Players Sixteen:Nine - All Digital Signage, Some Snark

Felt Screen

The Collage of Captivating, Colorful Compositions in the Chroma Zone

Diy Projector - Finland

Vibrancy - Australia

Emily Henderson's Blog, page 2

Felt Borders

For Projector


![JVCC Acrylic Craft Felt Tape [1mm thick felt] (ACF-06](https://m.media-amazon.com/images/I/71aG67drBwL._AC_UF1000,1000_QL80_.jpg)